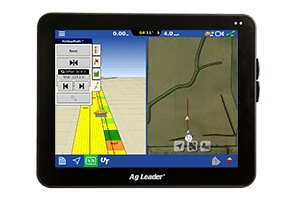
Organize Field Trials by Creating a Prescription
If you have followed my posts, you have seen a few that mention field trials (either by accident, or just observations in the field), and what you can learn from them. For those that are interested in doing trials, but not interested in the time it typically takes, there are tools in SMS to create them ahead of time and load as a prescription if you are properly equipped. Whether you are variably applying products across a field, and want a check strip, or if you area applying a fixed rate, and want to do a few different rates, SMS has the tools to assist you.
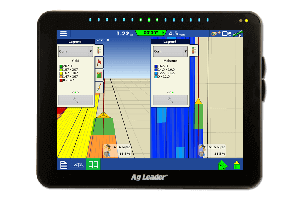
If you are using the Basic Prescription Editor, you can create your prescription as you normally would, and then in the prescription editor, use the “Convert Prescription” tool to change the map to a small raster/grid based map. This will enable you to use the Paint brush tool to “Paint” your check strip, or trial wherever you want. Tip: make the trials long enough, wide enough, and inline with the planting direction. I like to have about 400 -500 ft. long so at harvest time, there is enough usable area for the trial.
{image1}
If you are using Advanced, you have 2 ways you can create a trial. The first is to create a new generic layer with polygons that have the rates you want, and incorporate that logic to the equation editor. The other way is to take the prescription you created, and Edit the layer to select the cells where you want to place the trial, and Edit the Selected Objects and change the rates that are going to be applied.
{image2}
After harvest, you can use the query tools to compare the trial areas with the adjacent passes to show the success of the trial, and if your applications are on the right track.


