Soil Sampling Tips
If your farm is like ours, we have a regular cycle of soil sampling our fields to keep tabs on the soil fertility we are dealing with. Whether you are grid sampling or zone sampling, it is a good management practice to take regular samples to ensure fields don’t become deficient in essential nutrients and decrease income potential. And if your farm is like ours, 2009 was a fall that barely lent itself to harvest and some tillage, and the soil sampling was deferred until later when you had more time. Fast forward to 2010, and on our farm – if things stay on pace – we will be done on the calendar this year before we even got a good start last year. What a difference a year makes! While you are out taking soil samples, there are several things to keep in mind to ensure you’re getting a quality sample. Many universities and soil testing labs have guidelines and suggestions on how to take “the proper soil sample.” Below are a few links that discuss the ways to take a soil sample that will provide the best information for you. Iowa State University – http://www.extension.iastate.edu/Publications/PM287.pdf North Dakota State University – http://www.ag.ndsu.edu/pubs/plantsci/soilfert/sf-990.htm In addition, here are a few tips I have come up with from my years of soil sampling that may also be beneficial for you to make the most of the soil test and your time in the field doing it.
- Many soil probes have a longer probe than the sample you might take. In my case I try for consistent 6” cores, but my soil testing probe will take up to 10”. I use a piece of electrical tape to mark the point on the probe that will give me a visual indicator of the proper depth of core to pull. If the tape starts to pull away, you know you are going too deep too often.
- Pre-labeled bags – Check with the soil lab you will be sending the samples to and ensure that you have the proper numbering on the samples. Some will want a Field ID and a Sample ID, and some may just want the Sample ID. Regardless, it can be worth it to have your bags pre-labeled before you go to the field. In the event that one of the bags is ripped or misplaced, having a few spares and pen are well worth the time.
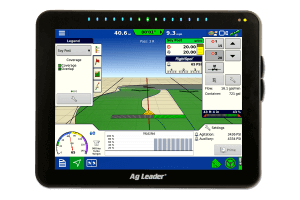
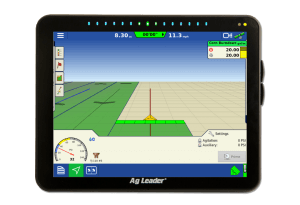
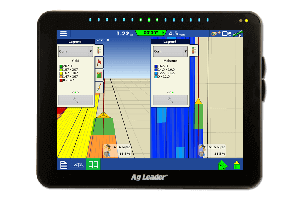
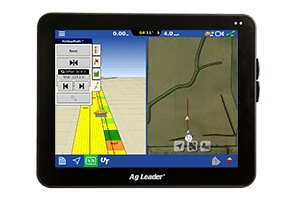
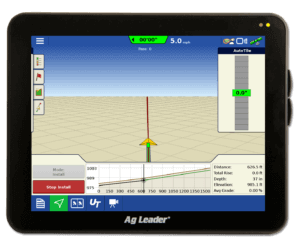
- If you are sampling a determined path for grid samples, re-sampling or zone sampling, you can set up where those points are in desktop software and transfer the data to the device you are using to guide you to the samples in the field. This way, you don’t need to drive the perimeter and then create the points in the field… You just power up your field software, load the file and start sampling.
- Make sure the 4-wheeler has enough gas and your electronic devices (laptop, PDA and GPS) have fully charged batteries! (This is a lesson it only takes once to learn!).


